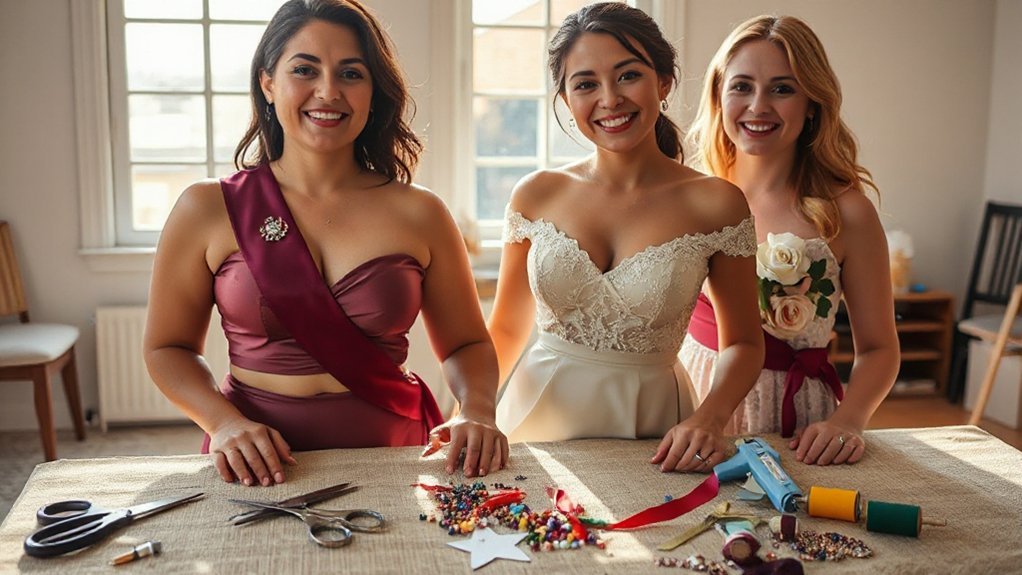
Funny coincidence: the last time you wrangled a bachelorette, the sash snapped right before photos, didn’t it? This time, you pick 4-inch satin or soft cotton, bold 2-inch letters (hot pink on black), heat-pressed foil that survives hugs, and roles like Memory Keeper and Plot Twist. Add grosgrain for grip, a few hotfix rhinestones, test legibility at arm’s length, and stash Velcro backups. Now, here’s where the theme and outfits change everything…
Key Takeaways
- Mix DIY sashes with custom shop orders; confirm lead times and rush options for the whole squad.
- Choose high-contrast palettes and bold fonts; use 2-inch letters readable at arm’s length indoors/outdoors.
- Assign role-based titles for cohesion: Bride, Maid of Honor, Chaos Managers, Memory Keeper, plus wildcard “Plot Twist.”
- Use comfortable satin blends with reinforced seams; heat-pressed foil or vinyl prevents shedding during a long night.
- DIY basics: 4-inch ribbon, iron-on letters, Velcro; template-align text, bias fold, add rhinestone accents to match venue vibe.
Clever Wording Ideas for Every Vibe
How do you pick sash words that fit your crew without trying too hard? You start by listening to how your friends actually talk, then turn that into short lines that snap. Use Pun Phrases when the group likes a wink, like “Bride or Die,” “Vino Vows,” or “Last Fling Field Team,” and keep it bold but not noisy. Fold in Inside Jokes that only your circle gets, like the nickname from that road trip or the catchphrase your bestie says when plans go sideways, because private jokes make cheap fabric feel custom. Match tone to the night’s speed: classy and dry for a calm dinner, rowdy and playful for a late crawl. Test read every line out loud; if it lands fast and feels light, you’ve got it. Skip long quotes, skip cringe rhymes, and print what you’d shout across a bar without blushing on a dare.
Color Palettes and Fonts That Pop in Photos
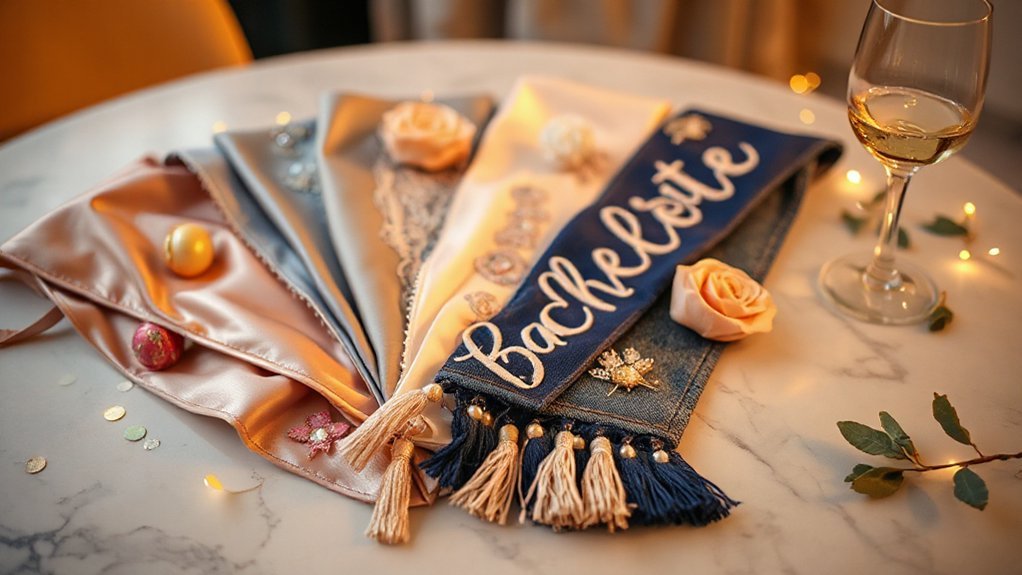
Go for high-contrast color combos that punch through in photos, like black with white, hot pink on black, or navy with bright yellow, because mushy pairings just wash out when the flash hits. Metallics and neons earn their keep since they catch light and look lively—think gold foil or silver on blush, or neon coral and lime on white—but keep an eye on glare and pick a base that doesn’t fight back. Use bold, clean fonts that read at a glance, like chunky sans serifs or thick, simple scripts, and do the quick phone test at arm’s length to see if you can read it without squinting, which saves you from the “cute but useless” sash.
High-Contrast Color Combos
Why do some bachelorette sashes jump off the screen while others melt into the background like a shy cousin at a loud bar? You’re seeing contrast at work, the push and pull between light and dark, warm and cool, texture, that makes letters snap into focus and keeps photos crisp.
Pick pairs with bite: black sash with white text, navy with cream script, emerald with ivory, or hot pink with charcoal sans. Check skin tone harmony so the bride doesn’t vanish; deeper skin glows with white or yellow text on dark bases, fair skin loves bold bases with soft lettering. Mind cultural meanings—red can shout luck, white can whisper formal. Test combos on your phone, indoors and out, and quickly adjust before you print.
Metallics and Neons
When neon meets metal, photos wake up, and that sash stops acting shy and starts waving from across the room. You want simple choices that hit hard, so pair hot‑pink neon with soft rose gold foil, or lime with clean silver, and watch the edges glow in daylight and city neon signs alike. I’ve seen electric orange with holographic foil turn a dim bar into a small stage, and it wasn’t trying that hard either. Choose heat‑transfer vinyl that flexes, and go for recycled ribbon to keep the environmental impact in check and ethical sourcing on the table.
- Neon magenta + rose gold: modern, a little fancy.
- Lime green + silver: crisp, fast.
- Ultraviolet + chrome: night‑ready.
- Electric coral + holographic: playful, camera hungry.
Readable Fonts on Camera
How do you make a sash read in photos, not just in person? Start with big, clean letters, think bold sans serif or a sturdy serif, because thin scripts fade fast when the flash hits and the room gets busy. Pick high contrast, like white type on fuchsia or black on blush, and add a slim outline for stroke visibility so edges don’t melt into sequins. Do kerning adjustments and a touch of extra spacing, since letters crowd each other once you step back.
Print tall, 2-inch letters at least, center them low on the shoulder where fabric lies flat, and choose matte foil so glare stays tame. Snap test pics on your phone, near and far, then tweak without mercy until it’s crisp.
Materials, Templates, and Quick DIY Assembly
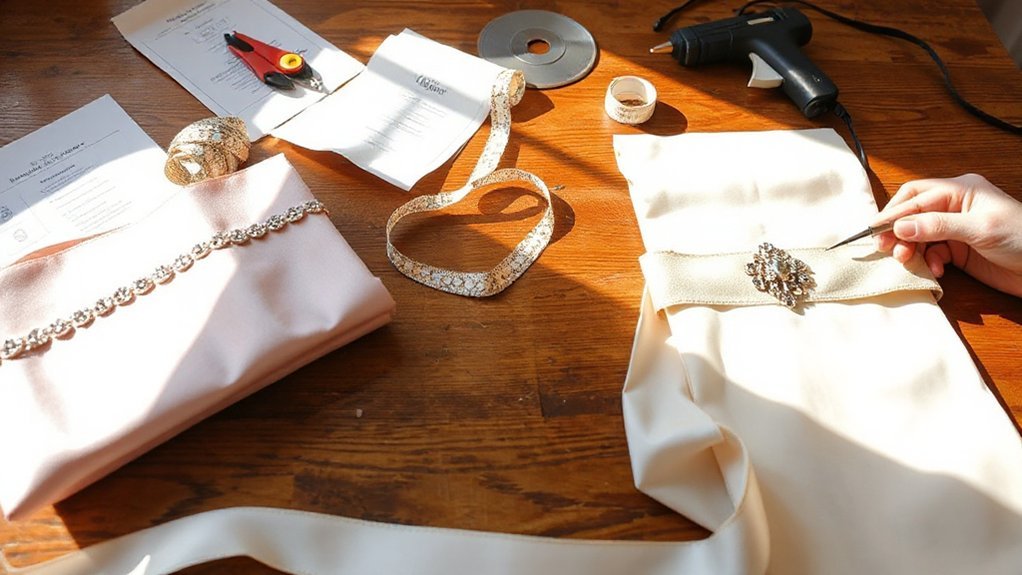
Gather your goods first, then the rest goes fast: a 4-inch-wide satin ribbon or a soft cotton blend for comfort, iron-on letters or vinyl, fabric glue or a needle and thread, a few Velcro dots or safety pins, and a ruler, scissors, and iron. For a no sew build, fold the ribbon on a bias at your hip, dot Velcro, press the seam flat, neat as a handshake. Use template printing to lock size and spacing: print your text, tape it under the ribbon, line up letters so nothing drifts.
Gather supplies, fold on a hip bias, Velcro, template letters, press, and glide to done.
- Cut the ribbon to 70–80 inches, test-fit across your shoulder, trim clean.
- Heat-set iron-on letters through parchment, steady pressure.
- Stitchers can backstitch the seam; others can glue and clamp.
- Mark center chest with chalk so the title lands for cameras.
Give it ten calm minutes to cool, then run a little lint roller and call it truly ready.
Embellishments: Rhinestones, Ribbons, Patches & More
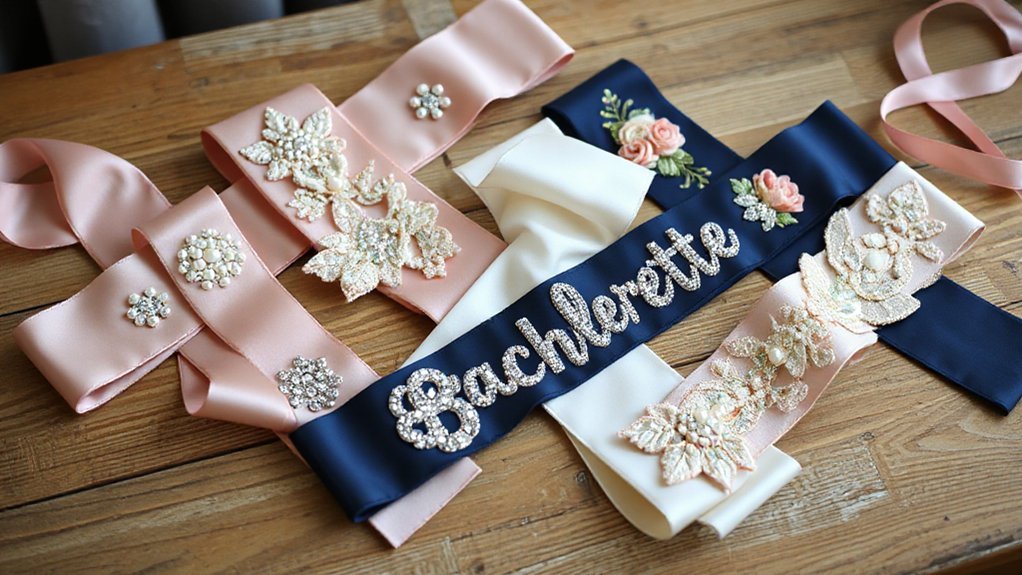
You can make that sash shine with simple rhinestone tricks, like a neat line along the letters, a small cluster at the hip, or a scattered sparkle that looks like champagne bubbles, and a hot-fix wand beats messy glue on a wobbly table. Add ribbon the way you add salt to fries, not too much and just where it counts, maybe a satin edge, a skinny grosgrain stripe, and a clean bow at the shoulder so it doesn’t snag when you hug everyone. Finish with trims that hold up, like lace for soft edges or mini pom fringe for a wink, because cute is great but loose threads at 10 p.m. are not.
Rhinestone Sparkle Techniques
Adding rhinestones to a sash is like flipping on a porch light—suddenly everyone knows where the party’s at, and it follows you across the room. The trick is using facet geometry and light interaction to your advantage, so each stone catches a beam and hands it to the next, like a relay. Plan paths, not piles; you’re guiding eyes along the sash, past the name.
- Map a “comet trail” from shoulder to hip, tighter near text, looser as it fades.
- Mix sizes, SS10 and SS20, to stack sparkle without bulk.
- Tilt stones slightly off-axis so stage lights don’t blind, they wink.
- Test colors under phone flash; clear, AB, and smoke read very different.
Use hotfix for speed, glue for control, and test on scrap.
Ribbons, Bows & Trims
Ribbon is the workhorse that softens the sparkle and frames the message, the steady line that makes all the fuss look planned. You pick satin for shine, grosgrain for grip, velvet for a plush edge, and you stitch or glue clean so it holds up through taxis and toast spills. Tie a long-tail bow at the hip, or stack mini bows like badges. Add picot trim, rickrack, or a crisp bias edge when you want contrast without noise. Play with historical symbolism, like a blue bow for luck, or nod to regional traditions with tartan tails, fiesta ribbons, or island florals. Use heat-seal tips, no-fray solution, and hidden snaps, and you’ll swap bows mid-night like a pro. Keep spares in a zip bag, handy.
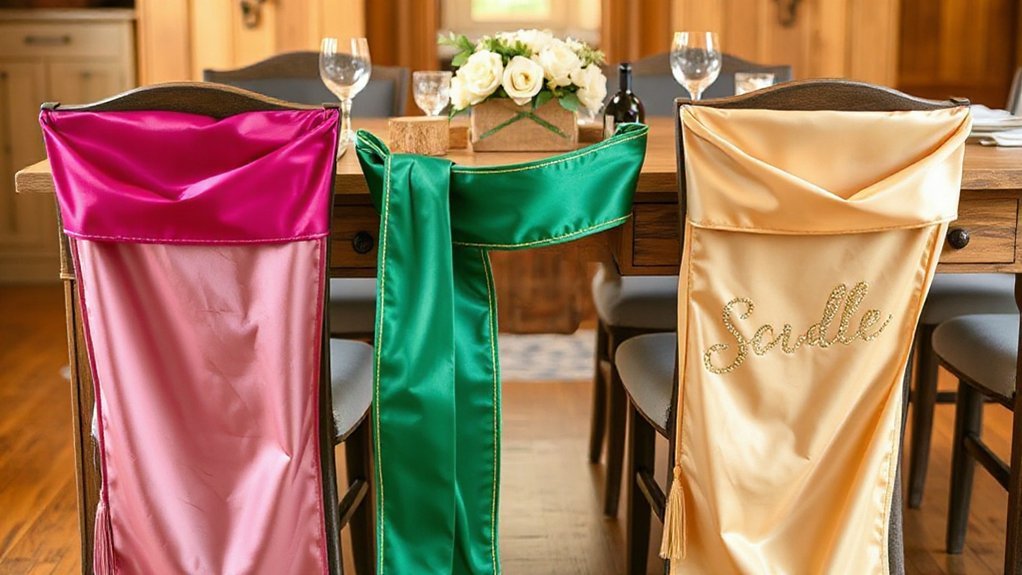
Matching Sashes to Themes, Outfits, and Venues
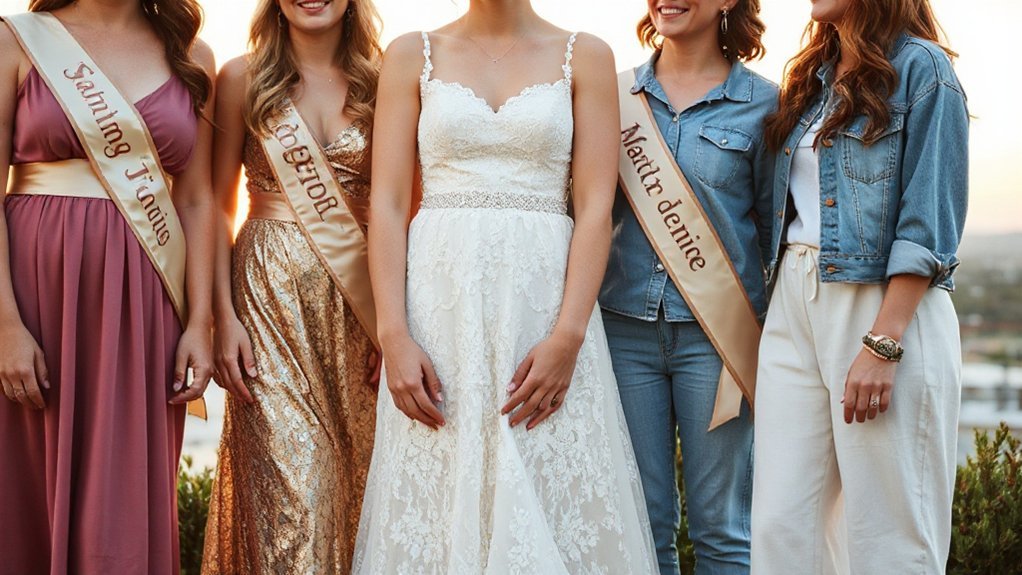
When the sash fits the plan, the whole night snaps into place, like you meant it that way all along. You start with the venue, because carpet and lights and street grit all change how color reads, and you match fabric that won’t glare in photos or vanish in a dim bar. Then you look at outfits, and you aim for accessory coordination, so satin plays nice with denim, sequins don’t fight with prints, and bows don’t snag on beaded sleeves. You think about Cultural symbolism when you pick motifs, like lucky red, soft ivory, or patterns that nod to home, and you do it with respect and heart.
- Pick matte for neon clubs, glossy for candlelit lounges, sturdy twill for rooftop wind.
- Echo shoe metal in foil accents and pins.
- Use adjustable ties for coats or sundresses.
- Test with flash photos before you buy.
Now it belongs.
Title Mixes for the Bride and the Entire Squad
Build clusters so pairs feel linked, like two “Chaos Managers” guarding karaoke queue, and a “Memory Keeper” with a phone strap. Use color accents or small icons to telegraph hierarchy clarity without barking orders, a crown here, a star. Leave a wildcard sash labeled “Plot Twist,” because plans shift, and someone ends up leading the late-night taco run, a noble post.
Durability, Comfort, Sizing, and Shipping Timelines
Before you pick fonts and sparkle, make sure these sashes can handle a night that runs from selfies to street tacos without fraying or scratching your skin. Feel the fabric; satin blends glide better than stiff polyester, and double-fold edges with seam reinforcement keep threads from popping when you hug twenty people.
- Check stretch and drape; a light bias cut sits flat and doesn’t dig when you dance.
- Size smart: measure shoulder to hip, then add two inches for overlap and a pin.
- Test breathability; press the sash to your neck for ten seconds, and see if it feels clammy.
- Confirm lead times and rush options, because print queues jam before big weekends.
If you’re between sizes, pick longer and trim the tail, it’s kinder on curves. For durability, choose ink that’s heat-set or foil that’s pressed, not glued, so the letters don’t shed on your jumpsuit tonight.