At Jenna’s Austin bash, you nailed a blush-and-chrome arch, tucked in heart balloons, and strung “BRIDE’S LAST RODEO” in foil letters that actually stayed put. You kept centerpieces low so friends could talk, hid weights under napkins, and used warm LEDs so every selfie popped—no filter needed. Now you want bigger impact without a bigger bill, fewer headaches, and a setup that travels? Here’s where your plan tightens up.
Key Takeaways
- Create arches and garlands with mixed sizes, matte and chrome finishes, plus oddball shapes; hide water weights and use command hooks for anchoring.
- Choose a palette from Pantone-inspired picks: one hero hue plus two neutrals, matched to the bride’s vibe and season for cohesive decor.
- Design photo-ready backdrops: matte balloons with chrome accents, fabric or fringe, sturdy stands, bounced lighting, plus a selfie station with tripod, remote, and chargers.
- Build low centerpieces and bouquet clusters using odd-number groupings, varied heights, a jumbo-medium-mini mix, a single chrome accent, and cleverly hidden weights.
- Personalize with foil letter phrases and the bride’s name/date; add removable decals, skip helium, and hang with fishing line and command hooks for budget.
Trendy Color Palettes and Themes
So where do you start with trendy color palettes and themes for bachelorette balloons? You look at Pantone Predictions first, then you match them to your crew and the bride’s vibe, because colors aren’t just pretty, they steer the whole night. If Peach Fuzz sings, pair it with soft clay, sand, and a hit of chrome silver, and you’ve got cozy glam that photographs clean. Lean on Seasonal Schemes when you need guardrails; spring likes lilac, butter yellow, and cloud white, while winter does emerald, black, and a wink of ice blue. Build a theme from real life, not a catalog; maybe “desert sunrise” if you met in Tucson, or “neon nostalgia” if you bonded over arcade nights. Mix finishes so it doesn’t feel flat, matte with pearl, satin with a sparkle. Test a mini cluster at home, snap pics in daylight, and tweak before you buy big.
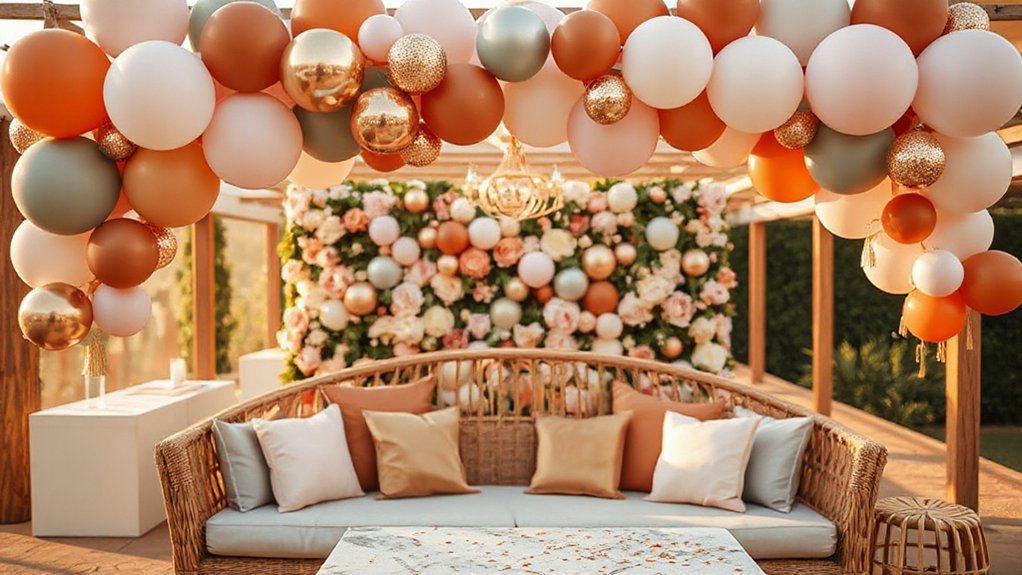
Statement Balloon Arches and Garlands
An arch is the billboard of your bachelorette, it tells folks where the party lives before the music even starts, and a good garland does the same job with less bossy energy. You pick a doorway, a patio rail, or the kitchen island and build a route that guides people like runway lights. Start with smart frame construction: PVC for bends, a lightweight grid for walls, or a flexible wire for a snaky garland that hugs corners. Use mixed sizes and tuck in chrome or matte balloons so the curve feels alive, not stiff. Now unglam part, anchoring techniques: water weights hidden in planters, fishing line tied to chair legs, or command hooks that won’t scar paint. Test sway, fix gaps, add a few oddballs for wit, like hearts or confetti orbs. When Aunt May bumps it reaching for snacks, it holds, and it looks fresh at midnight.
Photo-Ready Backdrops and Selfie Stations
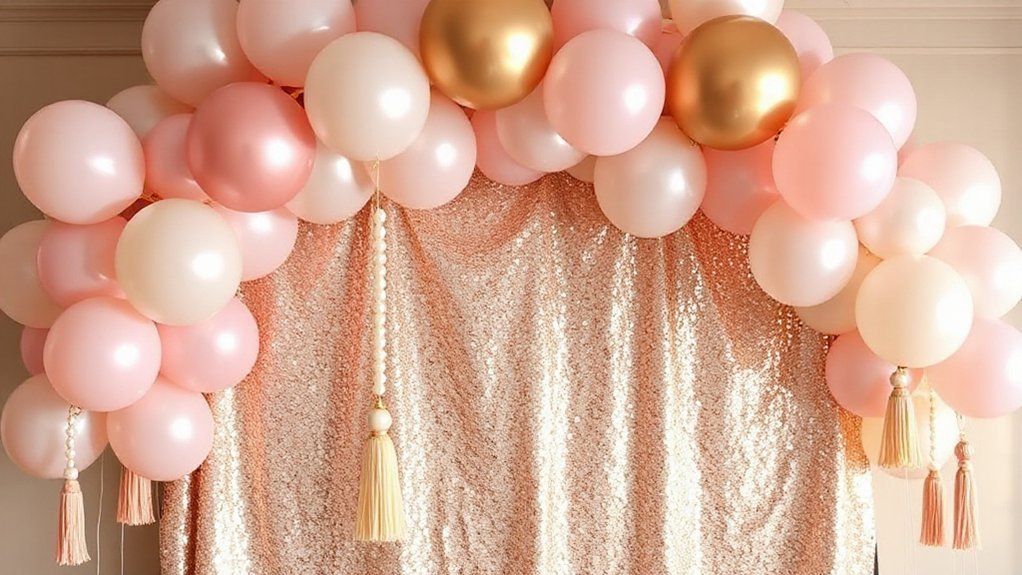
Your backdrop’s the party memory machine, the spot where everyone lines up, fixes a stray curl, and grins like they mean it. You want a setup that flatters faces and hides clutter, so think layers, think height, think a floor you won’t trip on. Mix matte balloons with a few chrome ones, add a fabric drop or fringe wall, and anchor it with a sturdy stand, because tape quits when the room warms up.
Build a memory-machine backdrop: layered, tall, trip-proof, matte meets chrome, fabric anchored—no tape tantrums.
- Use lighting tips that actually work: bounce a lamp off a white wall, clip a warm LED on the stand, and kill overhead cans that cast raccoon eyes.
- Nail prop selection with simple wins, like faux champ glasses, silk florals, tiny disco balls, and a handheld fan that makes hair look alive.
- Build a selfie station: a phone tripod at eye level, remote shutter, charging hub, and spill kit for fixes.
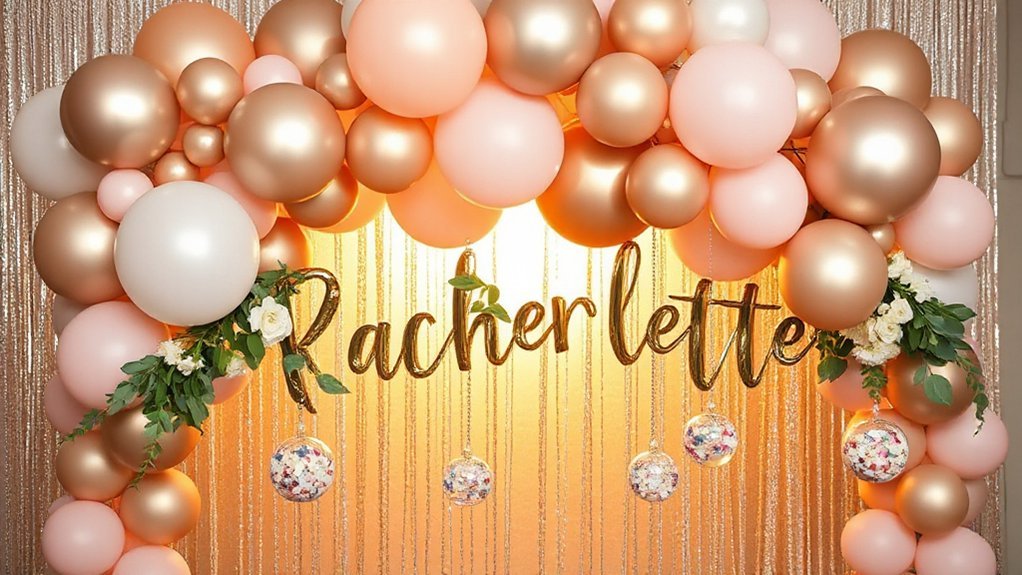
Cheeky Letter Balloons and Custom Phrases
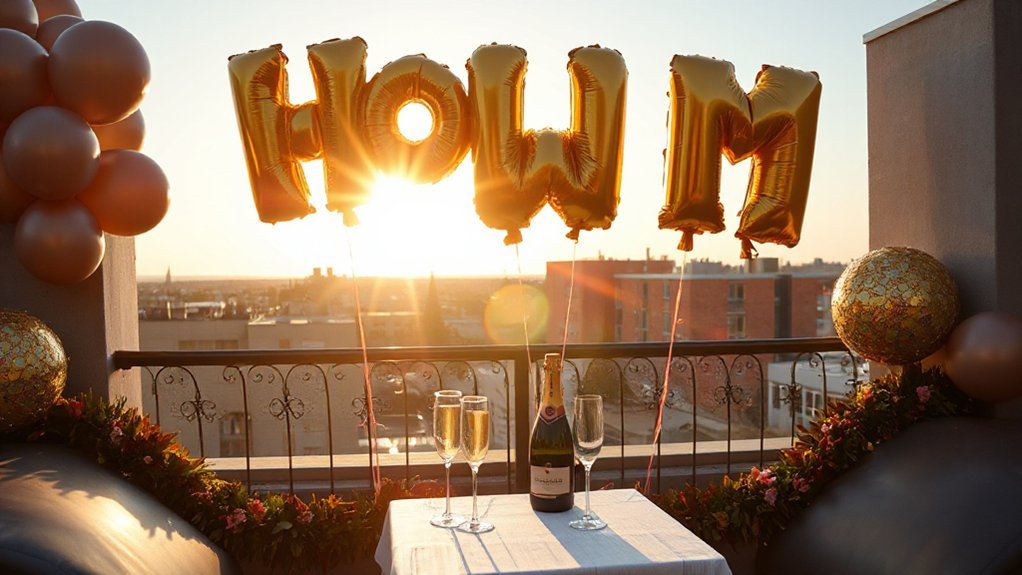
You can let the balloons do the talking with cheeky lines that land fast and friendly, like “Same Forever, Kinda Scared,” “Pop the Bubbly,” or a bold “Bride Mode,” and they read great in photos. Work in her name and the date so it feels real and not rented, like “MAYA’S LAST FLING — 09.14” or “Team Jess, 06/22,” and stick it where folks gather, near the cake or the door. Pair shiny foil letters with a few shapes and colors that don’t fight, think gold letters with pink hearts, or silver letters with a champagne bottle and a ring, and mix big 16-inch letters with a small star or two so the line looks tidy, not like it’s yelling at you.
Playful Phrase Ideas
How do you pick a cheeky phrase that lands just right on those big letter balloons and sets the tone without turning the room into a billboard? You start with a vibe and a filter, keep it clever, short, and easy to read from across the room, then you test it out loud, like you would a new pair of boots.
- Use pun creation and rhyme brainstorming to spark lines like “Sip Happens,” “Vow Wow,” or “Kiss the Miss.” Say them fast and see which one sticks.
- Keep it clean but flirty, think PG-13, with simple cues like “Last Fling Fuel” near the bar or “Cute Chaos” over the dance spot.
- Match placement to moments, balloons for welcomes, toasts, selfies, and late-night victory lap.
Personalized Names & Dates
Bride-to-be’s name and the date do the heavy lifting, so put them big and clean on those letters, then let the cheeky line ride shotgun. Start with Typography Choices that read fast: bold block for her name, a tidy sans for the date, and a slimmer script for the wink, like “No Sleep Till Vows.” Keep contrast clear and spacing even, so folks snap the pic without squinting. Do smart Placement Planning: hang the name at eye level, drop the date just under, and float the cheeky bit off to the side like a grin. Test sightlines from the door and the phone camera. Anchor with clear string, map your order with tape tabs, and pack extra vowels—those run out first. Bring mini clips.
Foil Letter Pairings
Names and dates set the backbone; now let the foil letters play a little and say the cheeky stuff everyone came to hear. You pick short, punchy phrases—BRIDE MODE, LAST FLING, BYE FIANCÉ—and you let them float where the photos happen. Mind font compatibility: keep all letters in the same style or mix bold and script with purpose, not guesswork. Check weight balancing so the string line holds straight and the camera reads every word without droop.
- Pair letters with one oddball icon balloon—a ring, a disco ball, a tequila—to set tone.
- Stack phrases: SWEET + SASSY, in two rows, so grandma smiles and the group chat howls.
- Clip LED strands behind letters for glow that hides tape and feels planned.
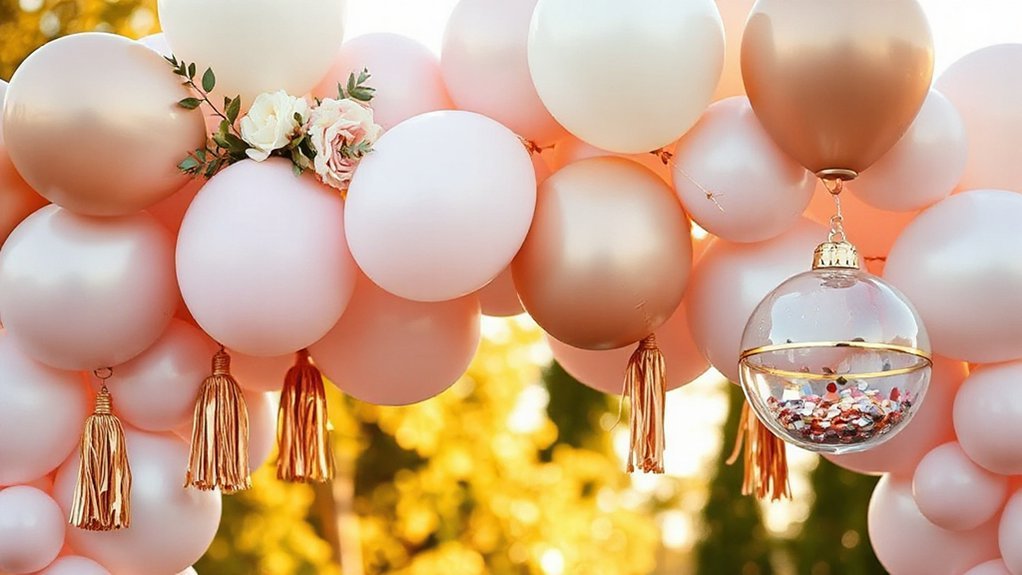
Confetti, Glitter, and Chrome Accents
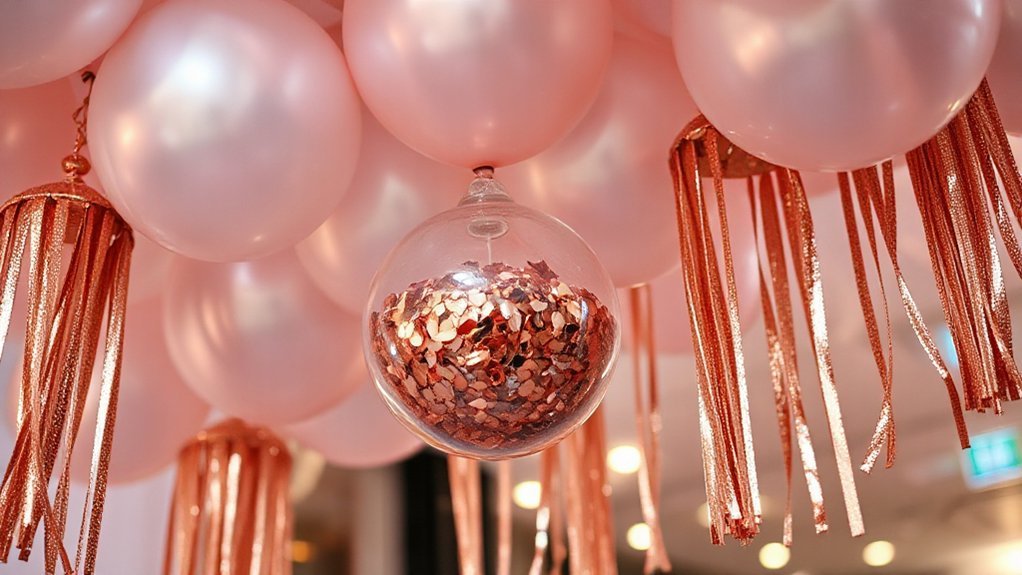
Adding confetti, glitter, and chrome accents turns plain balloons into little spotlights, the kind that catch your eye even from the doorway and make photos pop without trying too hard. You load clear balloons with biodegradable confetti, shake them to wake up the static, and you’ve got tiny color storms that won’t junk up the planet. Dust the neck with a pinch of fine glitter, then seal, so it clings inside like frost on a window. For shine with muscle, mix chrome balloons in rose gold or gunmetal; they reflect faces and neon signs, and they look expensive without being fussy.
| Accent | What it does | Quick tip |
|---|---|---|
| Biodegradable confetti | Cloudy sparkle without guilt | Use a hand pump to reduce static burn |
| Fine glitter | Soft haze that flatters skin | Roll balloons on a towel to spread |
| Holographic accents | Futuristic flashes and depth | Add one per five for balance |
Easy.
Bouquets, Clusters, and Centerpieces
Once those sparkly touches are set, it’s time to pull them into shapes that actually work—bouquets for corners and photo spots, tight clusters for doorways, and centerpieces that don’t block Aunt Carol’s view of the toast. Think in layers, because Height Variations make small rooms feel taller and big rooms feel planned, not random. Anchor bouquets with a heavy base, tuck one jumbo heart up high, then let two or three mediums hover, and finish with a couple minis like confetti paused midair. For Textural Contrast, mix matte latex with a single chrome, add a satin ribbon, and clip in a small sprig of greenery, nothing fussy. Centerpieces should sit low, about water-glass height, so folks can talk easy without peeking around balloons, and clusters at entries should flare a bit, like a friendly wave that guides people in.
- Favor odd numbers.
- Stagger string lengths.
- Hide weights smart.
Pool Floats, Ceiling Clouds, and Room Fills
Stretching the party vibe into every corner means getting balloons off the tables and into the water, the ceiling, and the empty space you didn’t know you had. Start with the pool, because a raft of glossy orbs riding the ripples makes everyone grin, and a giant ring float packed with soft pastels reads like candy you can splash. Tie colors back to the bride’s mood, cool and airy or hot and punchy, and let ambient lighting skim the surface at dusk, so the reflections double the magic. Inside, float a ceiling cloud over the lounge, a loose canopy that moves when the AC sighs, and you’ve got shade, photos, and a little hush, all at once. For room fills, go low and cozy, balloons pooling in corners and under benches, like friendly drifts after a snow. Add scent layering with citrus and vanilla nearby, simple and calm.
DIY Tools, Techniques, and Pro Tips
Even if you’ve never tied a balloon knot without your fingers cramping, you can pull this off with the right kit and a few steady moves. Grab an electric inflator, a hand pump as backup, and a knot-tying tool that saves thumbs, then test on a dozen balloons till your rhythm shows up. Choose quality latex and foil from Material Sourcing, because weak seams pop at the worst moment, like when the bride walks in.
- Tape, tether, and trim: use low-tack tape for walls, fishing line for arches, scissors for tails, measure spans before you inflate.
- Seal like you mean it: stretch the neck, twist three times, use a 260Q tie-in, and add a dot of glue if a joint carries weight.
- Tool Maintenance: bleed heat from the inflator, clear nozzle lint, lube pump O-rings, and store everything in bins labeled by size and color.
Budget-Friendly Hacks and Reuse Ideas
A few smart swaps stretch a bachelorette balloon budget without looking cheap, and you’ll feel the difference when the receipt’s half what you feared. Start with color math: pick one hero hue, then mix in two neutrals, so you can buy bulk packs and still get a designer look. Use thrift sourcing for weights and trims—old brass candlesticks, tiny vases, even chipped mugs wrapped in ribbon make sturdy anchors. Skip helium where you can; build garlands on fishing line, cluster minis on tape, and hang orbs from command hooks, so air does the heavy lifting. Print simple decals and stick them on plain balloons, peel later, reuse the pump and tools again and again.
Save leftovers like a pro: keep sizes sorted in zip bags, add a silica packet, and store coils and hand pump in a clear bin—smart storage solutions mean less waste and fewer last‑minute runs.
Transport, Setup, and Safety Essentials
Before you leave the house, pack your balloons like you’d pack eggs, not groceries, and you’ll thank yourself when nothing pops in the driveway. Set them in bags, tie low, and keep them out of heat; a hot car turns tight latex into cranky rubber. Put a blanket over tanks and weights so they don’t slide; tape a checklist to seat and you won’t forget the pump.
On site, move like a pit crew. You load in, you anchor first, you test lines, then you add the pretty. Quick note on helium handling: open valves slow, use a regulator, and never let kids help, because tanks aren’t toys, they’re steel.
- Stage zones: inflate, tie, and stage, so you don’t step on your work.
- Follow allergy protocols: latex-free options, wipes, and clear labels.
- Safety wrap-up: exit paths clear, no candles near arches, weights on every tail.