If you purchase through them, we may earn a small commission at no extra cost to you.
See our Disclaimer for full details.
You want a stylish bachelorette vibe fast, so you’ll tackle five DIY pillars in one day: modular balloon garlands built with quick three-second knots, printable pennants in two colors, mason jar lanterns with battery LEDs, a bold personalized backdrop, and a ready-to-go photo booth with props. No fluff, just actions you can block out now. Get the right supplies, pace yourself, and you’ll have a cohesive scene that actually snaps together—before the guests even arrive. Curious how it all fits?
Balloon Garland Ideas You Can Finish in One Day
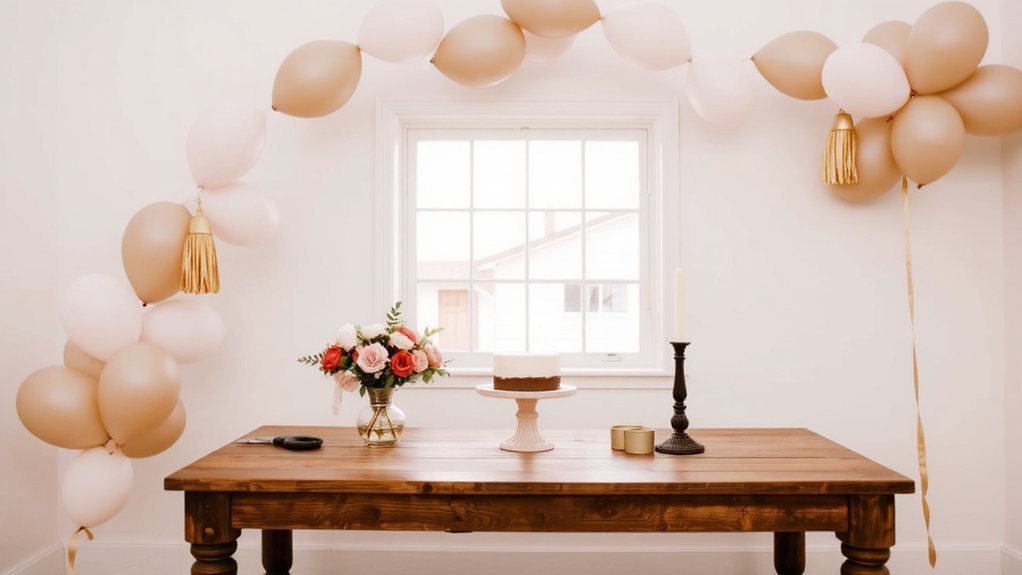
Kicking off a balloon garland you can finish in one day is all about smart planning and zero drama. You map the route, pick a color story, and batch-inflate. Start with size balloons first to avoid rework. For stringing techniques, you thread groups in 3s, skip knots, and knot once at the end. Use balloon sizing to mix large and small for depth, tucking, not crowding. Inflate extra in case you miscount, test the shape, then assemble on a gentle wall or freestanding arch. Keep it modular—three sections, five minutes apart, so you can tweak on the fly. You’ll finish with a crisp, photo-ready garland, no drama, minimal tools, and a brag-worthy finish. Roll tape, wire, and clips into one compact kit for speed on site.
Printable Pennants to Match the Bride’s Vibe

Printable pennants let you whip up designs for every theme, from elegant brunch to wild dance floor vibes. Grab sturdy paper or cardstock, print at home or at a shop, and line up simple banner sizes so edges stay crisp. Then personalize with initials, dates, or inside jokes to add flair—it’s your party, so mix colors, fonts, and pennant shapes until it screams “you.”
Designs for Every Theme
Want a party that screams “the bride picked this” without breaking a sweat? You can tailor printable pennants to fit any vibe in minutes. Designs for every theme mean you’re not negotiating style—you’re stacking options. Start with a base banner in two colors, then swap in versatile motifs: confetti shapes, tiny crowns, cocktail glasses. Keep copy short: one punchy line per pennant, legible at arm’s length. Mix typography—bold sans for punch, script for whimsy—to match the mood. For theme variety, assemble mini sets: bachelorette, beach, retro, chic minimalist. Use sturdy paper, luster finish, and double-sided tape for clean edges. Quick trimming, punch holes, string, hang. Done, dramatic impact, no drama. Keep extras in storage for spontaneous, on-the-fly decorations that still feel intentional and ready.
Materials and Printing Tips
Now that you’ve got designs for every theme, it’s time to talk about the stuff that makes them pop in real life. Pick sturdy paper stock, not whisper-thin printer paper. Matte finishes hide smudges; glossy tips gleam, but they kiss ink when your printer goes wild. Check bleed margins so there’s no ugly white edge after trimming. Print a test page, then print again on the stock you’ll actually use. Use a home cutter or scissors with a straight edge to keep lines clean. Consider alternating pennant sizes for rhythm and remember to punch holes before you string. If colors look off, adjust the printer’s color settings or swap to a different brand until you love the result. Deck will sing at a glance.
Personalize With Flair
Your pennants should scream the bride’s vibe, not some generic party vibe. You pick a color palette that matches her favorite bouquet and nail color, then print simple phrases that feel personal. Keep it fresh: mix bold typography with hand-drawn icons. Add a section for custom vows on one banner and a corner for handwritten notes from her crew on another. Use printable templates you can customize in minutes, then spot-press with double-sided tape so nothing flaps. Consider kits that include letter stickers and shimmer borders for a luxe look without the fuss. The goal is conversation starters, not clutter. Show her confidence, not perfection—embrace quirks, inside jokes, and bold statements. This is flair, not chaos. Keep it simple, chic, and totally bride-forward today.
Mason Jar Lanterns for Easy, Cozy Lighting
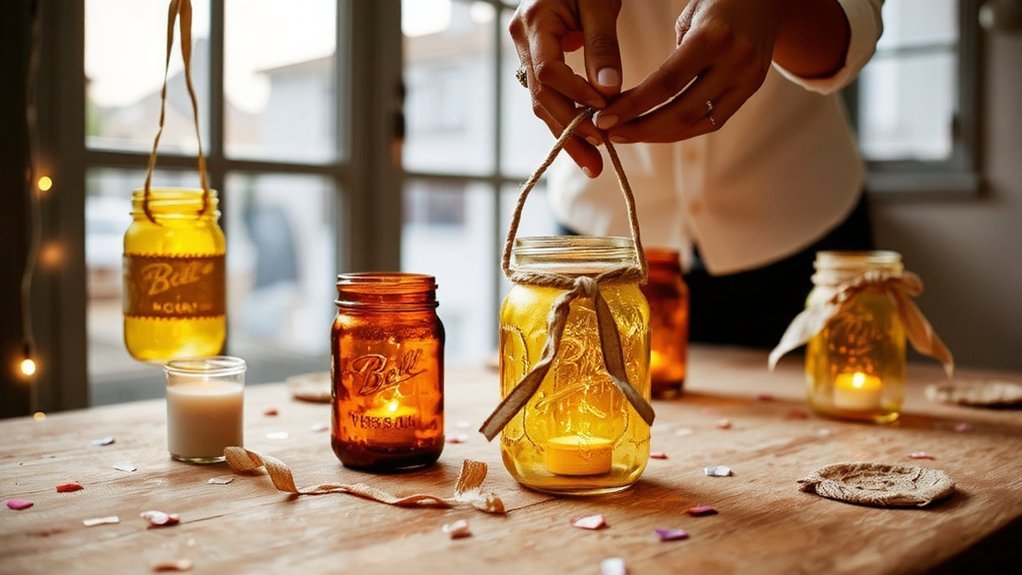
Decorating for a DIY bachelorette party, you can turn ordinary mason jars into warm lanterns with just a few simple steps. Gather jars, a drill for holes, wire or twine, and a battery-powered light. Skip open flames—glass safety matters here. Clean jars, poke a few decorative holes, and string them along a mantle or stair rail. For lighting, pick led choices that stay cool to the touch and last all night. Insert lights, seal lids loosely, and hang with twine. Try a mix of warm white LEDs and a color-wash dimmer if you have it. Place on a tray with faux greenery for texture. These lanterns feel cozy, modern, and surprisingly effortless. You’ll love the glow without the risk. They upgrade any party instantly.
Personalized Photo Backdrops on a Budget

A simple pivot from those warm jar lanterns is to set up a personalized photo backdrop that looks polished without blasting your budget. You’ll map budget planning first, then pick backdrop materials that punch above their price. Think a bold banner cut from kraft paper, a few oversized initial letters, and a sprinkle of confetti I’ll keep classy, not glittery chaos. Photo spot tips: hang a lightweight curtain rod, clip thrifted fabrics, or tape a fabric panel to a blank wall. Use printed photos in a grid mix with neon tape to outline shapes. Keep colors cohesive, resist overstuffing, and test light before guests arrive. Quick install, big impact, zero drama. You’ll thank yourself when the photos look slick in minutes, and last long.
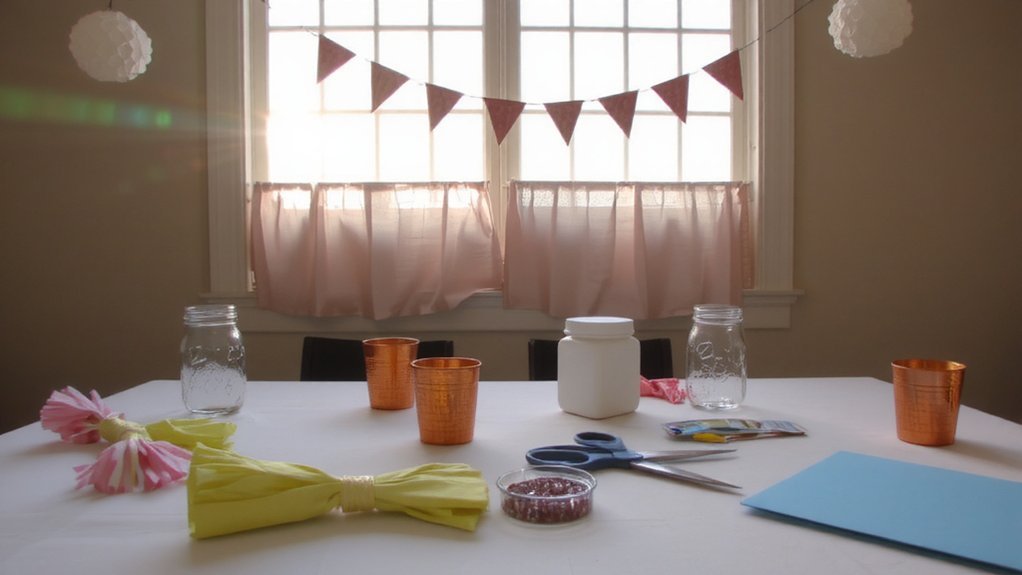
DIY Photo Booth Props for Fun Moments

If you want party photos that actually spark a laugh, DIY photo booth props are your fast track. You’ll brainstorm prop ideas that fit the crew and vibe—glitter lips, oversized sunglasses, goofy signs. Keep them bold and light; size matters for selfies. Use craft foam, printable mats, and a wooden stick or straw for easy hold. Create posing prompts on small cards: ‘Silly celebrity,’ ‘Retro model,’ ‘Big cheesy grin.’ Mount props on thin dowel stakes or attach with tape so they stay upright. Pack a mini prop station with a ruler, scissors, and glue. Quick setup: a table, a backdrop, a small mirror for last-minute glam. Snap, switch, laugh—your photos will thank you later. Keep a spare stack of props in a labeled box.
Quick Centerpiece Projects for Table Decor
Ditch the bulky setup and swap in quick centerpiece projects that pull the table together. You don’t need a floral forest or a dozen vases; you need smart focal points. Start with candle clusters: three low candles in varying sizes, nestled on a mirrored tray to reflect the glow. Add a touch of whimsy with succulent terrariums—tiny glass bowls, pebbles, and a proud little plant that lasts longer than the party. Keep it tight: use one cohesive color scheme, like blush and gold, and limit textures to smooth ceramic, glass, and moss. Finish with a single handmade runner, folded paper greenery, or a mini chalkboard label. Simple, bold, memorable. Today. Keep props lightweight, easy to disassemble, and shareable photos to boost party vibes everywhere.
Simple Signage and Welcome Panels
Start with bold, easy-to-read signs that tell guests where to go and what to do, using high-contrast colors and simple icons. For welcome panels, pair a warm message with a couple’s photo and a simple RSVP cue, plus a QR code so people can pin or save details. Place signs at the entrance, by the gift table, and along the main path, keeping sightlines clear and the layout consistent so nothing gets missed.
DIY Signage Tips
Want signs that actually help guests find you (and look good doing it)? Start with a clean baseline. Pick a simple layout, then build in bold arrows and crisp wording. For signage you’ll reuse, choose durable material and a finish that handles sun and rain—material durability matters. Use one font for headers and a compatible one for body text—font pairing that stays legible from a distance, not a vibes-only vibe. Keep sizes consistent: 2-inch headlines, 1-inch body text, 14–18 point for quick reads. Make frames lightweight but sturdy; mount with removable adhesive if you swap locations. Test it outside at dusk; if they can read it, you’re good. Quick DIY tip: seal edges to prevent peeling. Keep extras on hand for instant fixes too.
Welcome Panel Ideas
Welcome panels set the welcome tone in one glance, so don’t half-assembly them. You want guests to get the vibe fast, so keep it clean and bold. Use a simple panel with a short, punchy message like “Bride’s Crew” or “Let the love begin.” Choose contrast that pops from 6 feet away: dark letters on light backing, or white on black for drama. Panel wording should be friendly but clear—no hidden meaning, no run-ons. For font choice, pick one with personality but easy readability; sans-serif works on signs, script can feel chic if kept tight. Add a date line or hashtag subtly at the bottom. Keep spacing consistent, corners sharp, and clip art minimal. That’s enough impact without stealing the show for the party.
Placement and Layout
You’ve got the panels; now you place them where guests actually notice them. Start with traffic flow in mind. Put a welcome panel at the entry, not buried by coats and bags. Line up a guest book on a slim stand near the door so people see it as they drift in. Use space zoning: group signs by function—drinks, photos, seating—so guests move like a well-oiled map, not a scavenger hunt. Keep panels at eye level, 4 to 5 feet high, and avoid cluttering corners. Use bold colors and simple words; no tiny fonts. Rotate placements after a quick walkthrough with a friend—what reads fine from the couch might vanish from the hall. Adjust, tweak, wow. Keep it practical, keep it lit, keep fun.
Color-Pop Decor: Confetti Balloons and Tiny Details
Why settle for dull party decor when confetti balloons can do all the talking? You’ll choose bold hues, scatter tiny shapes, and keep the vibe playful rather than polite. Start with clear balloons and fill them with loose glitter for instant sparkle, then cluster them at eye level for impact. Use color theory to guide combos: warm tones on one wall, cool tones on another, and a few metallics to unite them. Add tiny details: striped ribbon, mini tassels, or DIY confetti toppers on straws. Create a simple banner in contrasting colors for a punchy finish. Keep glitter guidelines strict—minimal, intentional, not overpowering. The result: a cohesive, eye-catching statement that feels fresh, affordable, and totally Instagram-ready. It travels well from room to room, too.
Conclusion
You’ve got this party in the bag. Step by step, you’ll string balloon garlands, tuck mini pennants into the corners, and snap a photo against a kraft backdrop that says you owned tonight. Mason jars glow, props fly, and guests actually stay for selfies. Keep it simple: three knots, two colors, one vibe. When the clock eyes the finish line, you’ll see a stylish set you built in a day—and not a disaster in sight.